
How to change the mouse speed in Windows
Most users have different preferences as to how fast their mouse cursor travels across the screen when they move their mouse. Luckily, Microsoft Windows lets you increase or decrease the mouse cursor movement speed through the mouse properties. To proceed, select your version of Windows from the list below and follow the instructions.
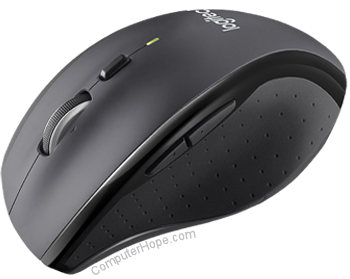
A mouse with a high DPI (Dots Per Inch) also increase the mouse pointers responsiveness, which may give the appearance of a fast mouse. If you're using a desktop computer mouse (like the picture) adjust the mouse DPI settings before trying the following steps. For mice with this option the DPI can be adjusted with a button on the mouse or through its software.
Changing the mouse speed in Vista, 7, 8, 10, and 11
- Press the Windows key, type Control Panel, and press Enter.
- Click Hardware and Sound.
- Under the Devices and Printers section, click Mouse.
If you use the Small icons or Large icons view in Control Panel, click the Mouse option in step 2.
- In the Mouse Properties window, click the Pointer Options tab.
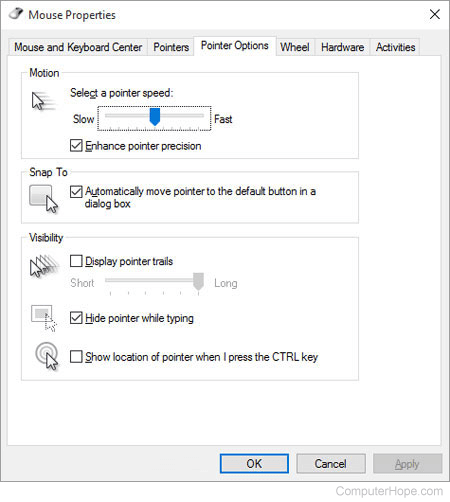
- In the Motion section, move the slider left or right to set your preferred pointer speed.
- Click Apply, then OK.
If the Windows mouse speed keeps getting reset or changed, consider the free KeepMouseSpeedOK tool from SoftwareOK.
Set the mouse speed in Windows XP and earlier
- Open the Control Panel.
- Double-click the Mouse icon; if you're having difficulty double-clicking this icon, highlight the icon by clicking it once and press Enter on your keyboard.
- In the Mouse Properties window, click the Pointer Options tab. If you're using an earlier version of Microsoft Windows, such as Windows 98, click the Motion tab.
- In the Motion section, move the slider bar left or right to set your preferred pointer speed.
- Click Apply, then OK.