
How to install a computer motherboard
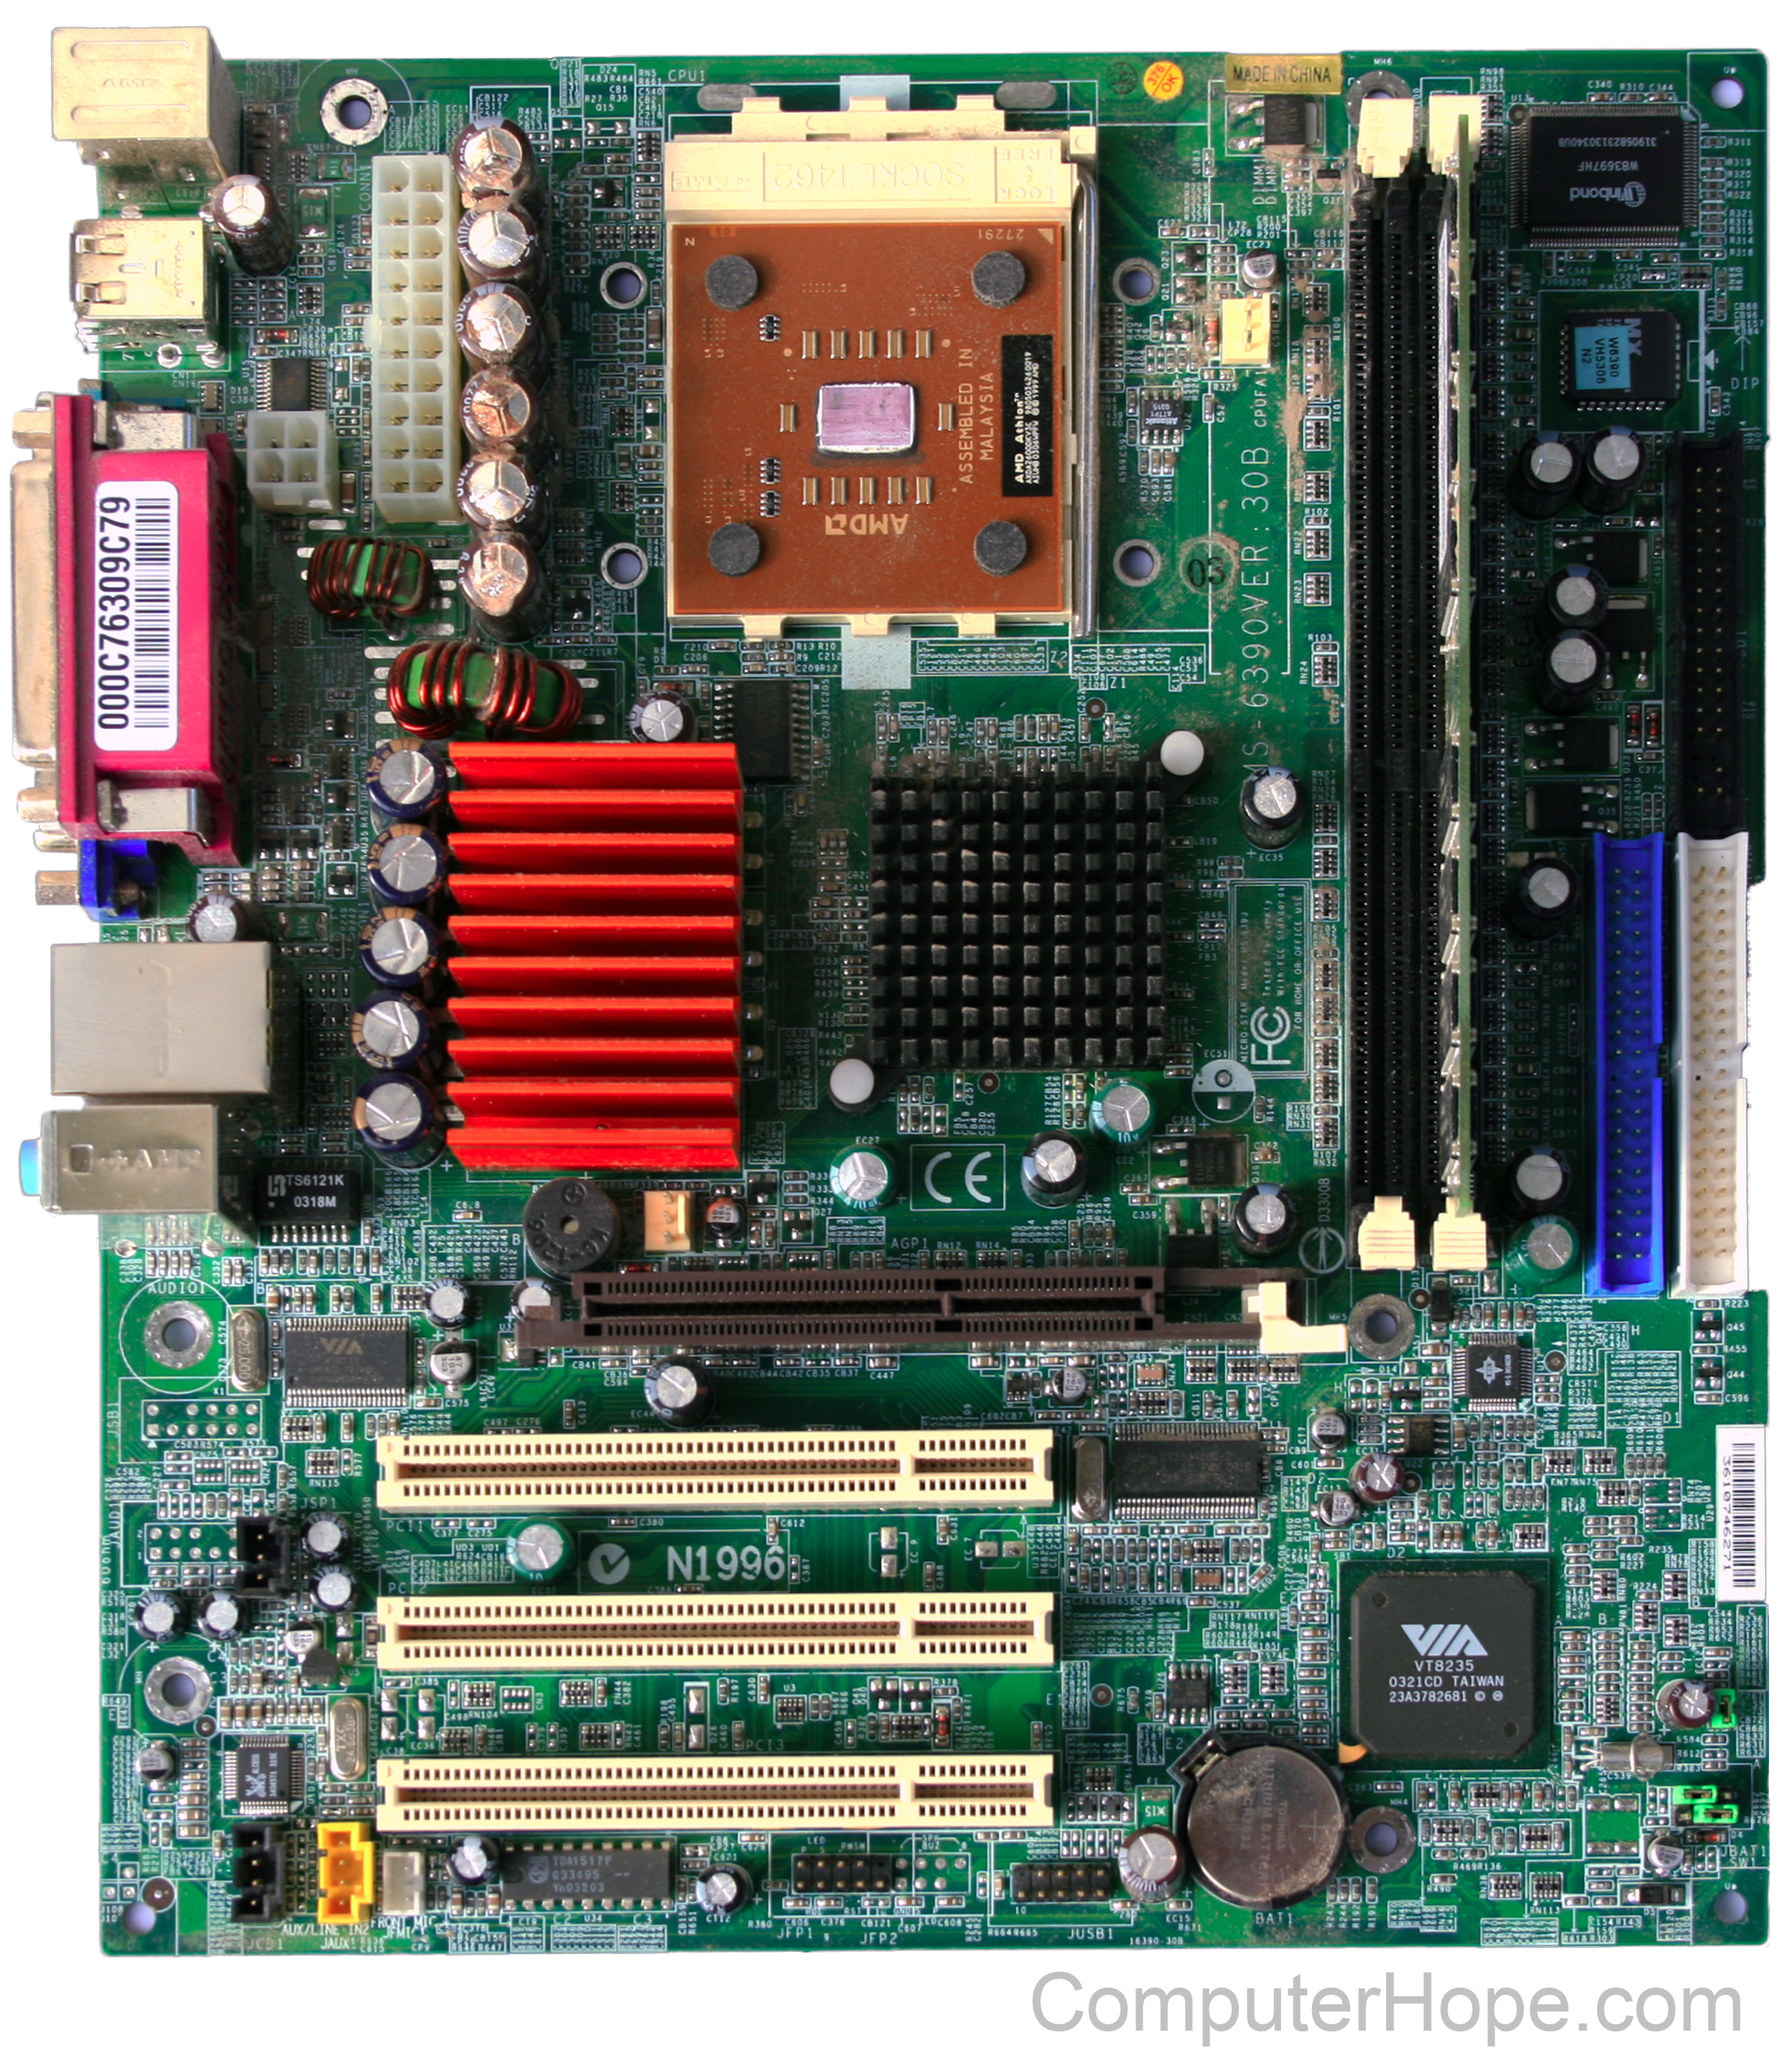
Installing a motherboard is a complex process. This page provides general steps and guidelines for how to install a motherboard. Please refer to the manual and configuration guide that is included with the motherboard for specific details on installation and configuration steps.
If replacing an existing motherboard in a computer with a new motherboard, you must first remove the existing motherboard. The steps on this page can be referred to for removing the motherboard, followed in reverse order.
Before getting started
- Write down relevant information from the top or bottom of the board, such as the Model Number, Serial Number, and specifications.
- Ensure you are familiar with ESD (ElectroStatic Discharge) and its potential dangers while working with any circuit board.
- When installing a motherboard, turn the computer off and disconnect the power cord from the power supply.
Form factor
Before installing a computer motherboard, make sure the case supports the form factor of your motherboard. Today, most computer motherboards are ATX (Advanced Technology eXtended) or microATX.
Verify and set jumpers
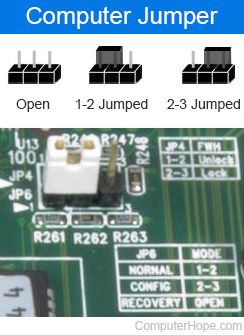
Before installing the computer motherboard, make sure all the jumpers or dip switches are correct. The jumpers and dip switches can be changed when the motherboard is installed. However, it is easier to verify them while the motherboard is outside of the case.
Today, motherboards have the jumpers set as auto, allowing either the BIOS (Basic Input/Output System) or the software to set up the proper settings for the CPU (Central Processing Unit) and memory. If the motherboard supports this feature, make sure the jumpers are set to auto. To adjust the settings manually for your peripherals, make sure you are using acceptable settings. Although you can overclock a system, we recommend you use auto or the real values of the system first to make sure the system works before tampering with its settings.
Install pegs or standoffs
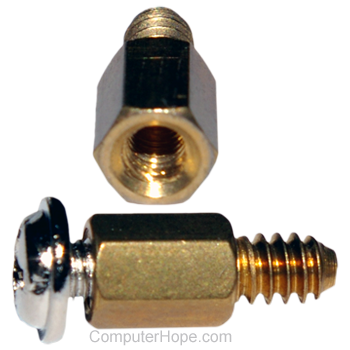
After checking the jumpers, if pegs or standoffs are not in the chassis, insert these attachments now. These are required to prevent the motherboard from shorting out and must be inserted before installing the motherboard.
When installing the pegs or standoffs make sure to insert them into the proper holes. Many cases support different motherboard form factors, and if not placed in the proper holes, it may cause damage to the motherboard. The holes on the case have a small indication of what uses them. For example, a hole may have the words ATX listed next to it to indicate the hole is for an ATX motherboard.
As the standoffs are being installed, make sure they are installed firmly into the case. Doing so helps to prevent issues such as the pegs coming loose when unscrewing the screw from the peg.
Motherboard installation
After the standoffs are attached and the I/O plate is in place, install the motherboard into the case. When doing so, make certain you align the back of the motherboard with the back of the case. As the motherboard is being installed, align the holes in the motherboards with the pegs or standoffs.
Once aligned, begin placing screws into the motherboard that should go into the peg or standoff inserted earlier.
When screwing in the screw you do not want the screw to be too tight. If tightened too much, it can cause the motherboard to crack. However, the screw should be in enough to hold the motherboard in place.
Install essential components
If not already installed, install the below necessary components into the computer.
- How to install a computer processor.
- How to install computer memory (RAM).
- How to install a computer power supply.
Front panel setup
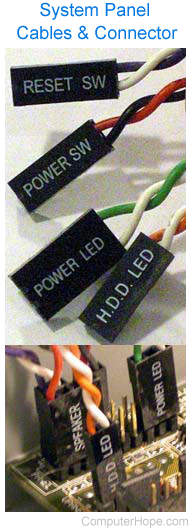
Once the motherboard is physically installed into the computer, the Fpanel (short for front panel connectors) must be connected. This panel controls such things as the power button, reset button, hard drive light, and power light.
Unfortunately, the setup of this panel can be confusing at first, even with the instructions provided from the motherboard manufacturer. Below are steps and additional information and help with connecting the cables to this connector.
- This connector consists of several two pin connectors.
- The cables that connect to the connector are 2, 3 or 4-pin connectors.
- The cables usually consist of red, green, blue, white or another color cable with a black cable. The colors on your cable may be different, but the black or darkest cable is the ground, denoted as '-'.
- Most cases have a separate cable for each setting, but some computers now have all of these cables as one large connector. If the computer has one large connector, it only connects in one direction. If you're installing a new computer motherboard in an OEM (Original Equipment Manufacturer) case that uses a large connector, it may not work with your motherboard since it could be proprietary.
- Finally, the computer cannot boot if one or more of the cables is not connected correctly. If you cannot turn on the computer or receive no post, check these cables first.
Connect cables
Once the front panel cables are connected, connect the other cables in the below order.
- Connect the main motherboard ATX style power cable coming from the power supply to the motherboard.
Connect the cables in the right direction and never force the cable. If improperly connected, it can damage the motherboard. Today, ATX and other motherboard form factors have a keyed power supply connector that allows the cable to connect in only one direction.
- Next, connect the IDE/EIDE, SATA (Serial AT Attachment), or SCSI cables to the motherboard from the hard drive, CD (Compact Disc) drive, floppy drive.
- Connect the Molex power cables from the power supply to each of the drives in the computer.
CMOS setup
Once the motherboard is installed and connected to the computer, connect the keyboard, monitor, and power to the computer. Do not connect all of the cables yet in case you encounter problems and need to disconnect all the cables again.
Once the computer boots enter CMOS setup and set all of the values not automatically detected. We recommend you check or set the below values.
- CPU Settings - make sure the proper CPU speed and voltage is shown or that it is set to auto.
- Memory - make sure the memory settings are right, and all memory is detected.
- Drives - verify the floppy, hard drive, and CD-ROM (Compact Disc Read-Only Memory) drive are all shown.
- If onboard video, modem, network, or sound is on your motherboard and you want to them disabled for an expansion card you are installing, disable these devices now.
- Check other settings such as the time, date, and COM ports.
Once everything is detected and set up, save the settings, then exit the CMOS setup and reboot the computer.